Introduction
Although it’s wonderful to learn to play the guitar, many beginners have trouble with speed, finger strength, and flexibility. Playing can feel slow, challenging, and even painful if you don’t practice your fingers. “The good news?” If you practice every day, you can correct this!
I’ll teach you the fundamental finger exercises in this tutorial to help you become more accurate, fast, and strong so that playing the guitar seems natural and effortless. These drills are intended to improve your muscle memory, chord switching speed, and fluidity.
- For whoever is this? beginners who wish to strengthen their fingers and play more fluidly.
- What will you learn? comprehensive methods, step-by-step finger exercises, and professional advice to get well fast.
Let’s get started!
Why do we need finger exercises?
Finger exercises enable you:
✅ Make fingers stronger – Help fingers last longer and feel less tired.
✅ Improve flexibility – Assists in playing chords, scales, and solos smoothly.
✅ Support self-sufficiency – Each finger moves freely for easy playing.
✅ Improve speed and accuracy – Play faster with more control.
If your fingers are slow, stiff, or weak, these exercises will have you playing better!
Most Valuable Finger Exercises for New Guitarists
1. 1-2-3-4 Finger Exercise (Spider Walk) – Ideal for Developing Speed and Strength
This is the #1 starting finger control and strength exercise. It trains your fingers to move on their own and gives them coordination.
How to do the 1-2-3-4 Exercise (Simple Step-by-Step Instructions):
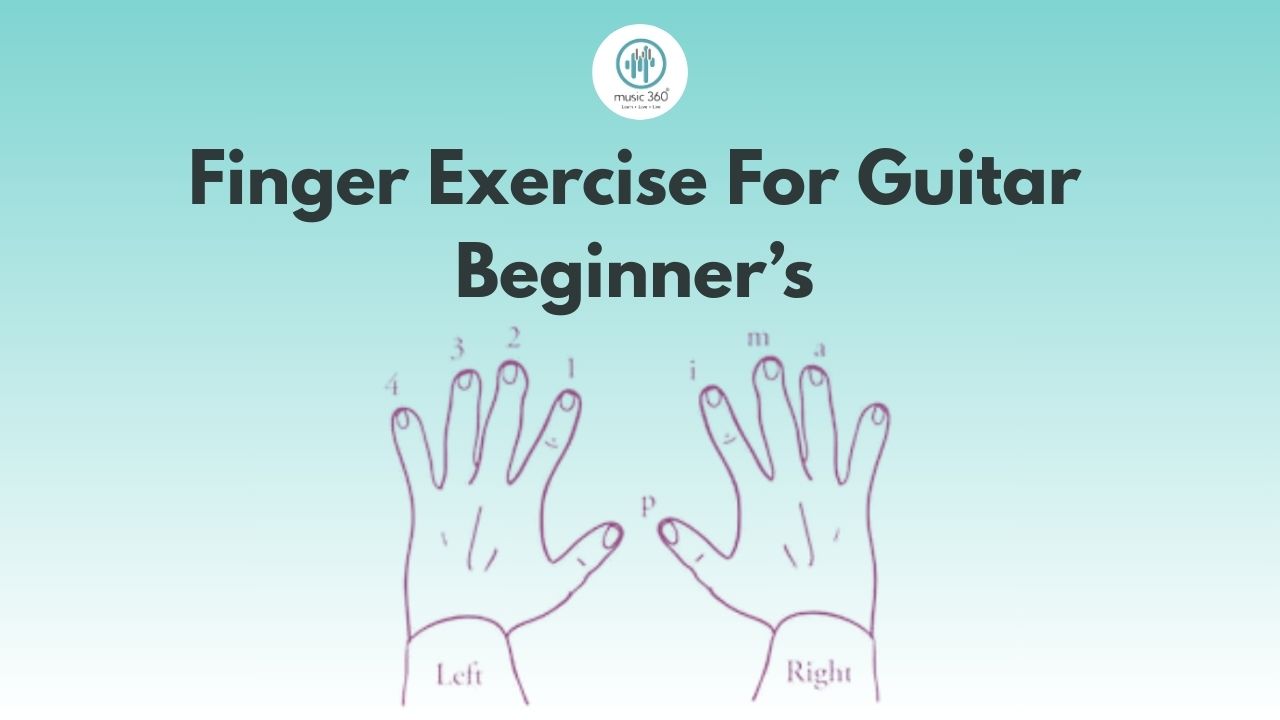
✅ Step 1: Put your index finger (1) on the first fret of the low E string (6th string).
✅ Step 2: Position your middle finger on the second fret of the same string.
✅Step 3: Place your ring finger on the third fret.
✅Step 4: Place your pinky finger (4) on the fourth fret.
✅ Step 5. Go to the next string (A string) and do the same again.
✅ Step 6: Continue until you reach the 1st (high E) string.
✅ Step 7: Return to the 6th string in the series of (4-3-2-1).
Tips for Achieving the Best Results:
✔Play a note for each fret to assist in building your fingers.
✔Place your fingers near the fretboard.
✔ Begin slowly and gradually build up the speed.
✔Employ alternate picking (down-up-down-up) to be more in control.
Tip: Do this 5-10 minutes daily and anticipate great improvement after a week!
2. Finger Stretching Exercise – Gain Flexibility & Chord Playing
It is hard for most new players to stretch their fingers to play wide chords and smooth slides. This exercise increases finger flexibility and makes playing easier.
How to Do Finger Stretching Exercises (Step-by-Step Guide):
✅ Step 1: Place your index finger (1) on the 1st fret of the 6th string.
✅ Step 2: Place your middle finger (2) on the 3rd fret.
✅ Step 3: Put your ring finger on the 5th fret.
✅ Step 4: Bend your pinky finger (4) to the 7th fret.
✅ Step 5: Play each note slowly and deliberately.
✅ Step 6: Go to the next string and repeat the same process again.
Tips for the Best Results:
✔ If it’s difficult to stretch, begin with smaller areas (1-2-4-5 frets).
✔ Release tension in your wrist.
✔Place your thumb on the nape of your neck to stretch further.
Pro Tip: Stretching exercises avoid hand injuries and facilitate playing complicated chords.
3. Chromatic Scale Exercise – Increase Finger Speed and Accuracy
This drill allows the fingers to synchronize and improves playing scales.
How to Perform the Chromatic Scale Exercise (Simple Steps):
✅ Start by placing your index finger on the 1st fret of the 6th string.
✅ Step 2: Play the 1-2-3-4 pattern on all six strings.
✅ Step 3: Employ alternate picking for efficiency.
✅ Step 4: Scale up the neck (e.g., begin on the 2nd fret next time).
✅ Step 5: Continue practicing at increasing speed and stay organized and in control.
Tips for the Best Results:
✔ Use a metronome to practice (start slow at 60 BPM, increasing speed).
✔ Highlight even tone and clarity.
✔ Don’t lift fingers unnecessarily – roll fingers onto fretboard.
Tip: Attempt working at this 10 minutes per day and you will be faster and better!
4. Hammer-On and Pull-Off Exercise – Finger Strength
Hammer-ons and pull-offs allow you to perform quick, fluid solos with ease. How to Play Hammer-Ons and Pull-Offs in Simple Steps:
✅ Step 1: Place your index finger (1) to the fifth fret of the high E string.
✅ Step 2: Play the note and press your middle finger (2) down on the 6th fret (without picking).
✅ Step 3: Try using your ring (3) and pinky (4) fingers to hammer. Step 4: To play a pull-off, pick the string and move your finger back to produce the lowest note.
✅ Step 5: Repeat the same procedure for all strings once more.
Tips for the Best Results:
✔ Use light effort – Don’t press hard.
✔ Practice slowly, then build up the speed gradually. Use all four fingers to be stronger. Pro
Tip:
This drill makes playing fast runs and smooth licks easy! How to Do These Exercises Well
1️⃣ Start Slow – Accuracy is more important than speed.
2️⃣ Metronome Practice – Build up speed.
3️⃣Remain Relaxed – Don’t tense fingers and wrist.
4️⃣ Practice Every Day – Only 10-15 minutes a day can make a BIG difference!
5️⃣ Monitor Your Progress – Tape yourself weekly to check improvement.
Conclusion
Final Thoughts – Get Started Today! Finger exercises help you improve quickly! The more you practice, the more natural and enjoyable playing guitar will be.
✅ Want to become an expert faster? Bookmark and share this guide! Having trouble with an exercise? Leave a comment below – I can help you!
✅ Want to learn more? Learn step-by-step lessons from my beginner-friendly guitar course. Now it’s your turn – which exercise will you try first? Let me know in the comments!


